Introduction Last updated: November 30,2021
FeedbackRig allows businesses of all sizes to collect actionable feedback from their customers. It enables you to create a one-question survey that can be embedded in your apps, websites, blogs, or emails.
Step-1: Create an account on FeedbackRig
Please follow the below steps to create a new account on FeedbackRig.
Navigate to https://app.feedbackrig.com/signup to get started.
You need to provide the following information to complete the signup process.
- Full Name:Enter your fullname here.
- Email:You can use any valid email address (not already used in FeedbackRig) that you would be using to login into your feedbackrig portal, and also to receive feedback notifications and daily digest emails.
- Password:At FeedbackRig, All passwords are hashed before they are stored in our database. However, It's still recomended to use a strong and unique password for your account.
- Sub-Domain:You also need to choose a sub-domain for your feedback portal. This can be your company or brand name e.g abc.feedbackrig.com
After successful registration, you will be asked to confirm your email address. Check your email to verify your account and complete the registration process. Sometimes the email may land in your spam/junk folders, please be sure to check those folders in case of any issues.
Step-2: Start your Feedback Campaign
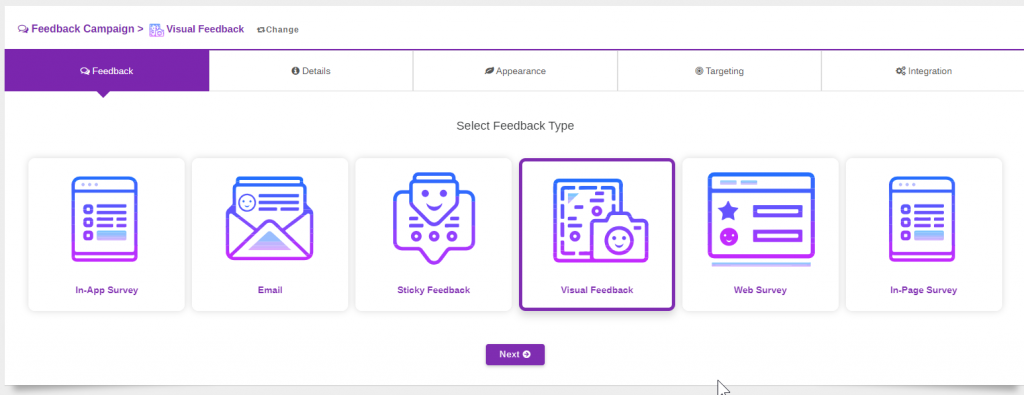
Navigate to feedback – > Create a new Campaign. Choose the desired feedback type and click Next.
Choose how you want to collect feedback
You can choose any of the below types to start your feedback campaign:
- In-App Feedback: In-App feedback widget is a one-question web survey that you can use in your website or app to gauge the behavior of your customer, get contextual or overall feedback.
- Feedbackrig for Email:Collect feedback using your Email Signatures - make your regular emails interactive, and allow your customers to give feedback instantly.
- Sticky Feedback:The Sticky feedback widget allows you to embed the feedback button or a floating smiley on your website. Users can simply click on it and provide feedback anytime they want.
- Visual FeedbackAllow your users to select any part of your website and give visual feedback. It's super helpful in scenarios like bug tracking and product feedback - as it automatically captures technical information along with a screenshot of your app, and that too, without installing any additional tools.
- Web Survey:Create a one-question survey, and distribute it over the web(using any channel of your choosing). You can add your branding and customize its theme and also the landing / thank you page.
- In-Page WidgetEmbed the feedback widget as if it's part of your website, blog post, or documentation pages.
Step-3: Ask the Desired Question
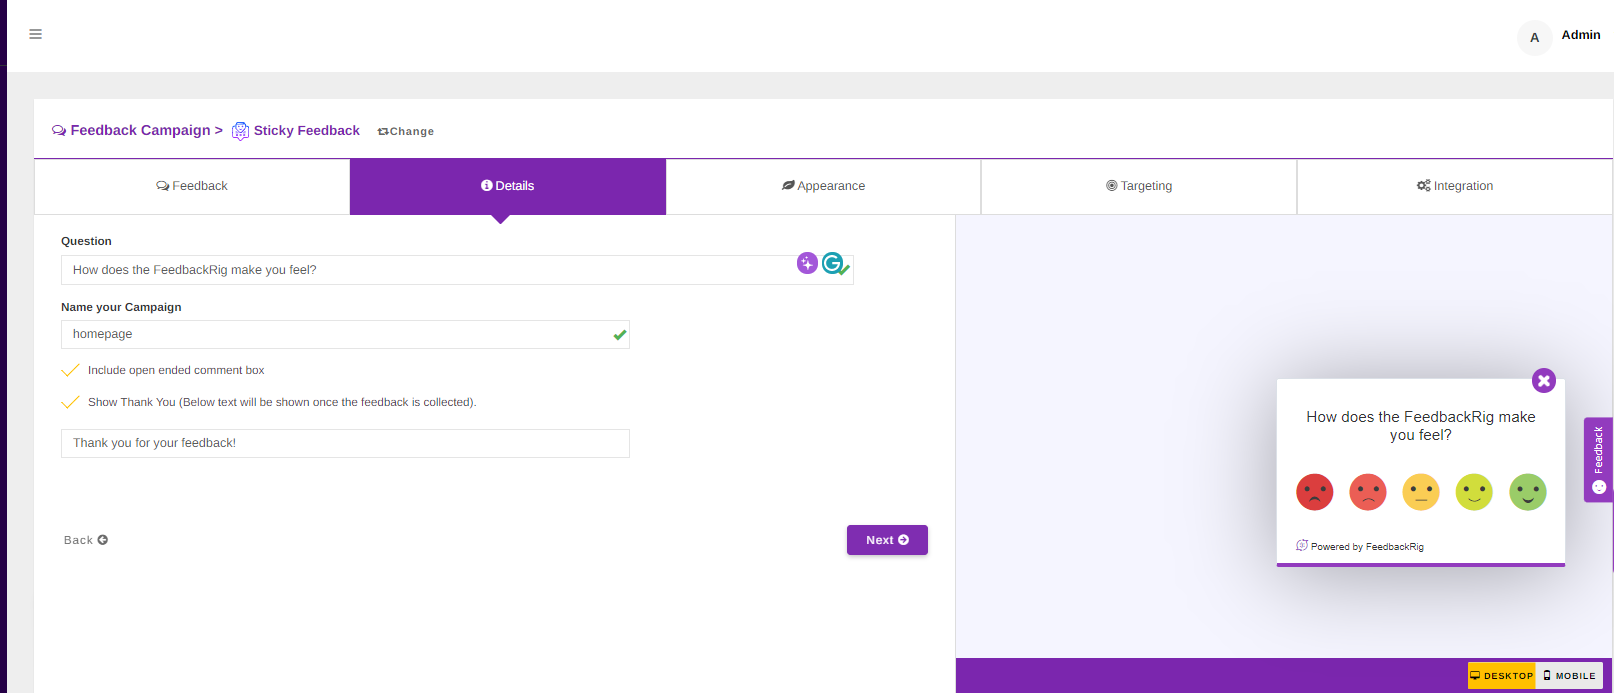
This step allows you to set up the question you want to ask from your customers.
- Name your Campaign Giving your feedback campaign a descriptive name a will allow you to identify it easily. Please note that this field will not be by your customers.
- Include Comment Box This will allow your user to provide additional feedback after they have clicked on any of the feedback icons. You may uncheck this field if you don't want to collect additional feedbacck
- Show ''Thank you' Message FeedbackRig allows you to customize the 'Thank you' message that will be displayed when the user has submitted the feedback.
Click Next to Continue to the next step and customize widget appearnce and layout
Step-4: Customize Appearance
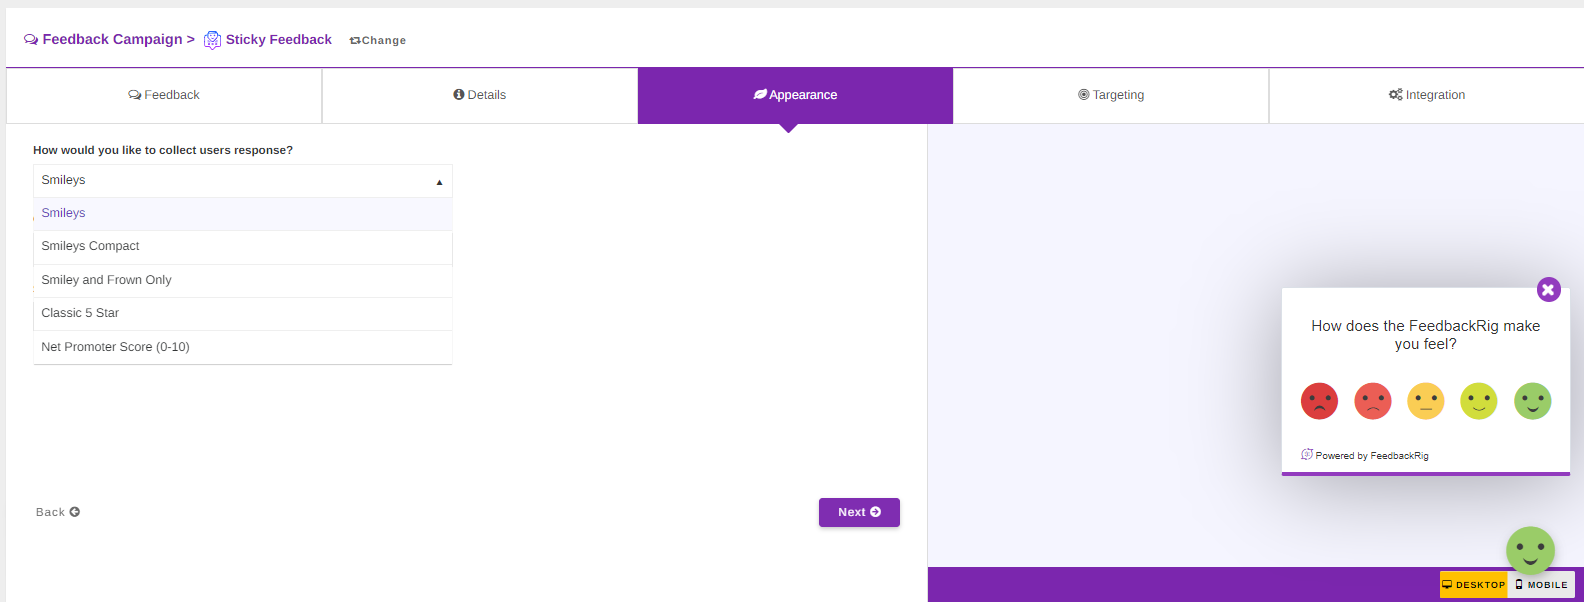
In this step, you can customize the look and feel of your feedback widget.
Feedbackrig allows variety of feedback methods that you can choose as per your needs.
-
Smileys
Using Smiley control users can provide positive, negative, or neutral feedback. It uses five smileys to capture users' sentiments about the product or service.
-
Smileys Compact
This method only uses three icons to capture Negative, Neutral and Positive sentiments.
-
Smiley and Frown
This is the most simplified form of the smileys where only positive and negative sentiments can be captured
-
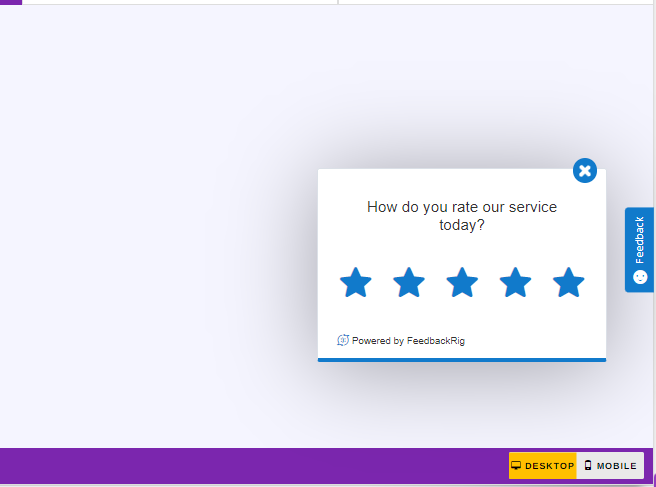
Five Star Feedback
This method allows your users to rate your product or service using five star rating control.
-
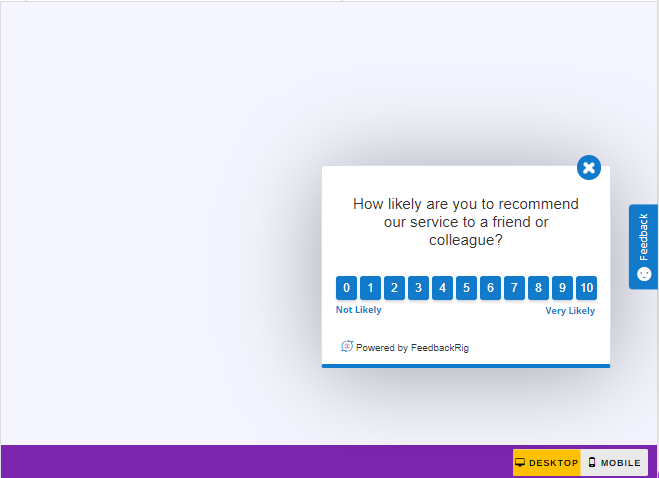
Net Promoter Score (NPS) Method
NPS indicates how likely your customers are to recommend your product or service to a friend, colleague, family member etc.
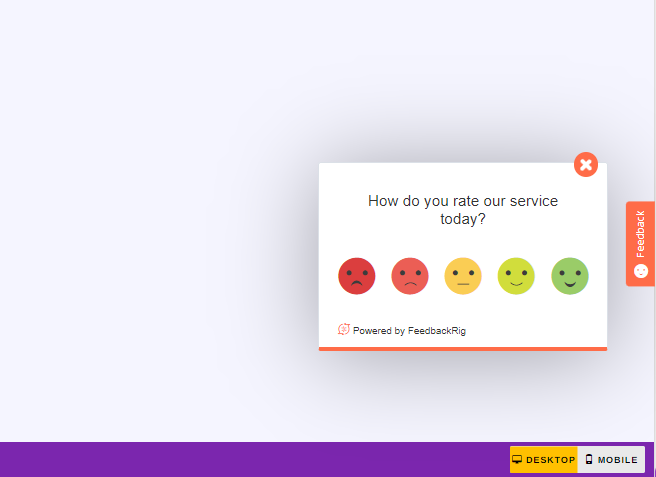
- Widget Style You can choose default or floating smiley feedback buttons (that trigger the feedback box)
- Select Theme You can choose from a variety of pre-built themes to your feedback widget to match it with your branding
Step-5: Advanced Features
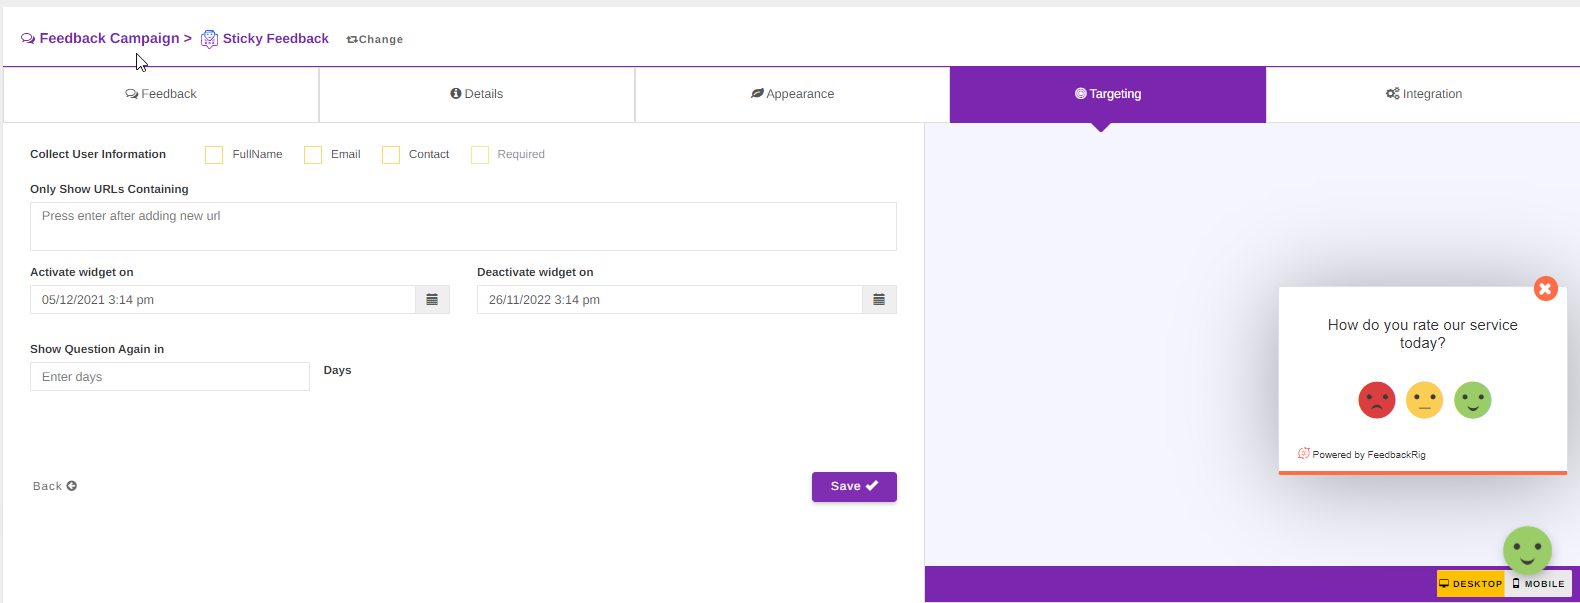
This screen allows you to configure additional settings for your feedback campaign, such as collecting user information, restricting targetting options, widget activation/deactivation, and frequency settings.
Collect User Information
- Full Name Check this option if you wish to collect user's Fullname at the end of the feedback.
- EmailCheck this option if you wish to collect user's Email at the end of the feedback.
- Contact Check this option if you wish to collect user's contact number at the end of the feedback.
- Required By default, above fields will be optional so your customers may choose if they want to provide these information or not. However, you can also check this option to mark those fields as required.
Only Show URLs Containing
This is an open-ended textbox where you can specify if the widget is to be shown only on specific urls. (seperated by new line)
Widget Activation and Deactivation
Select your date range if you want to run time-based feedback campaigns.
Show Question Again in
In the case of In-App feedback, the feedback widget appears only once so the users are not over-surveyed, but you can use this option if you want to rerun the campaign for the same users.
Step-6: Integration
Congratuations! You have created your feedback campaign and are ready to integrate in your app.
- Copy to Clipboard You can simply copy the script for your campaign and place it anywhere in your website,application,blog or documentation pages.
- EmailYou can also email the script to your team to have it integrated.
